Set up the project
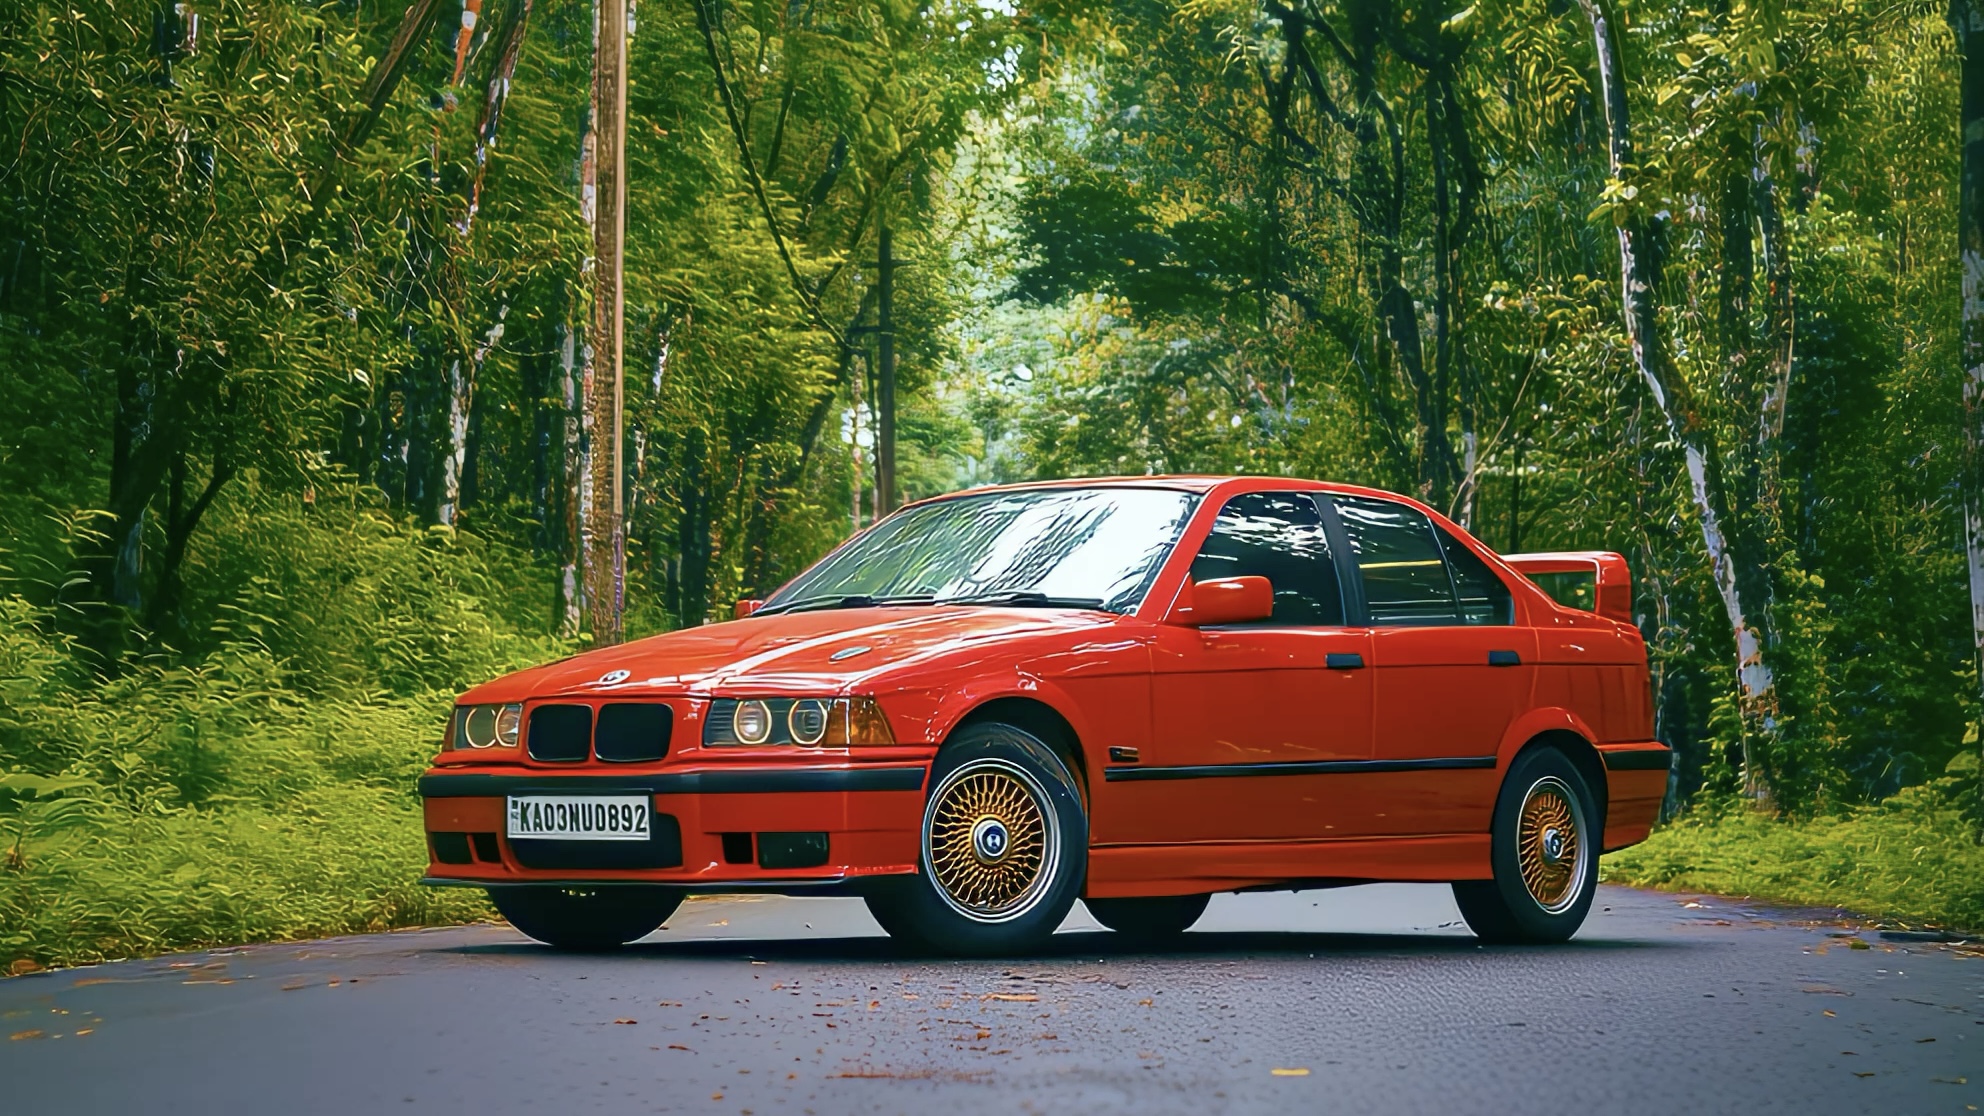
This edit starts with the footage from my E36 shooting process. I use a vertical 1080p timeline for Instagram and keep the project in DaVinci YRGB because I prefer to manage the S-Log3 conversion myself with CST nodes.
Why I chose DaVinci Resolve
The main reason is that it is free. The free version gives me editing, color grading, Fusion, and audio tools in one application, so I can learn the complete workflow without paying for a subscription. Resolve Studio adds more features, but the workflow in this post can be done with the free version.
Build the timeline
I add the music first and place the strongest shots around the main beats. Because the footage was recorded at 60 fps, I can slow it to 50% on the 30 fps timeline.
- Start with a short detail shot
- Use a wide shot to reveal the full car
- Mix wide, medium, and close shots
- Keep similar camera movements together
- Finish with a clean hero shot
Stabilize only when needed
I try the Translation mode in Resolve first. It corrects horizontal and vertical movement without warping the shape of the car as much as stronger stabilization modes can.
Translation stabilization
I use this for small gimbal shakes. I keep the strength low and check the crop after stabilizing. If the clip starts to bend or drift, I reduce the settings or leave it unstabilized.
Planar Tracker
For a more difficult clip, I use the Planar Tracker in Fusion. I track a flat area with clear detail, switch the operation to Stabilize, and then adjust the crop back on the Edit page.
Start with CST In
The first node converts the Sony footage into DaVinci Wide Gamut. This gives me a large working space for the correction and look nodes that follow.
Correct before adding a look
I correct the image before applying the film LUT. I use separate nodes so I can adjust or disable each part without affecting everything else.
S-Log3 and S-Gamut3.Cine into DaVinci Wide Gamut and Intermediate.
Balance the image and match it to the other clips.
Shape the black and white points without crushing the car details.
Adjust the paint, greens, and any distracting color casts.
Add a small amount only when the colors still feel dull.
Example node graph · Scroll to view
Add the film look
I use the Fujifilm 3513DI D65 film-look LUT included with DaVinci Resolve. It expects Cineon Film Log, so I prepare the image with a second CST before the LUT.
Once the edit and grade are ready, I follow my export and Instagram upload workflow.