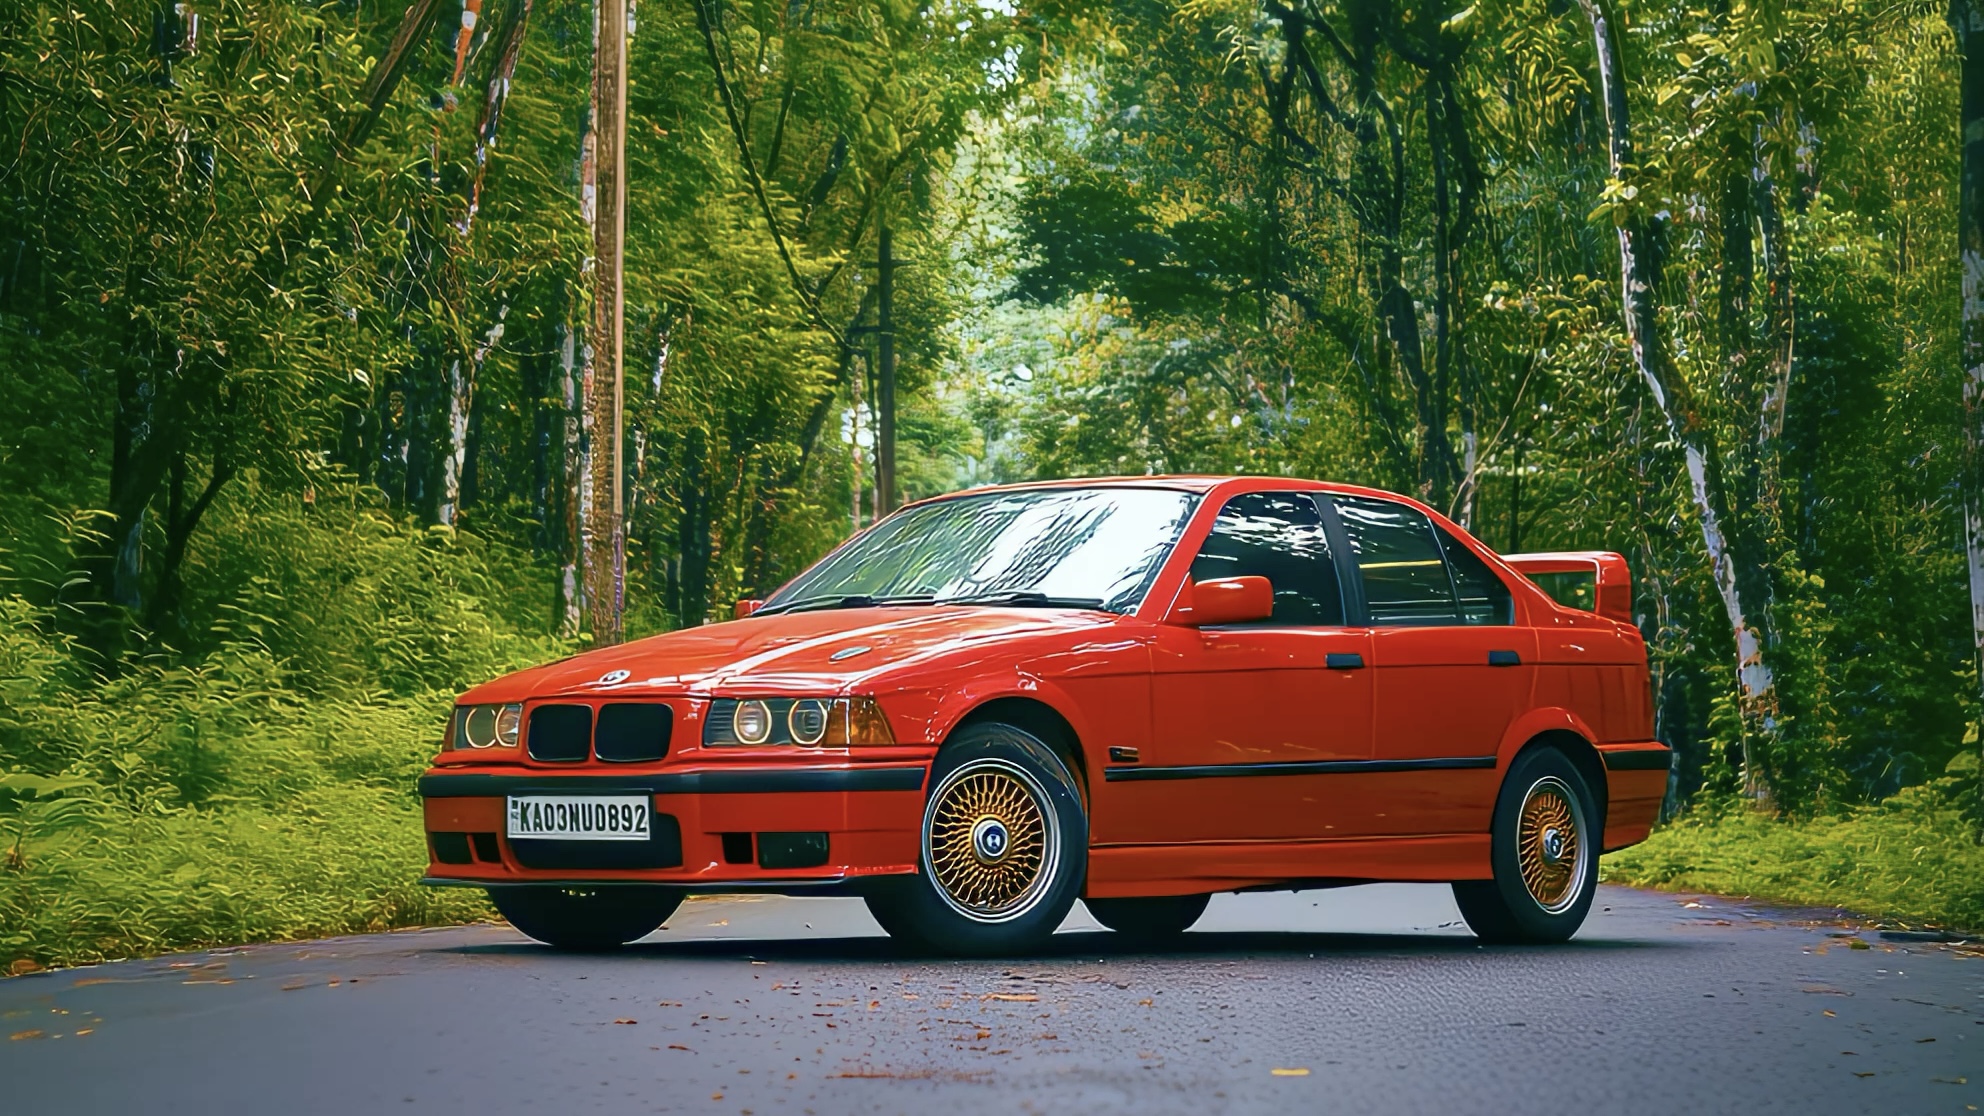
The gear I used
- Sony α7 V
- Sigma 35mm F1.4 DG DN | Art
- Haida PROII CPL-VND 2-in-1 Filter
- Lexar Professional SILVER PRO SDXC UHS-II Card (V60, 128GB)
- DJI RS 4 Mini Gimbal
Why I chose this setup
Sony α7 V
I chose the Sony α7 V mainly for 10-bit Log recording, which gives me more room to work with color. I use S-Log3 because its large ecosystem of guides, LUTs, and tools makes it easier to learn as a beginner. I also wanted one camera for both photo and video, with access to a wide range of lenses. I chose full-frame over APS-C because I plan to keep this camera for a long time, and I didn’t want to keep converting focal lengths to understand the field of view. I found that confusing as a beginner. The strong in-body image stabilization was another reason.
Sigma 35mm F1.4 DG DN | Art
I prefer prime lenses for their sharpness, and 35mm gives me the versatility I need. The Sony 35mm G Master is also very good, but I didn’t want to spend much more for a small improvement. Sigma’s 35mm DG DN Art gives me excellent quality for the price.
Haida PROII CPL-VND
This is an affordable variable ND with a built-in CPL. For me, a CPL is essential when shooting cars because it reduces reflections on the paint and brings out cleaner details. I always follow the 180-degree shutter rule, so the variable ND helps me control exposure without changing my shutter speed. I keep it on my lens most of the time.
Lexar SILVER PRO V60
I wanted a card fast enough to record 4K at 120 fps in S-Log3 when needed. I rarely shoot at 120 fps, but I like having the option for slow-motion shots.
DJI RS 4 Mini
This has been one of my best purchases. It is simple to use, lightweight, and affordable, and it handles the weight of my camera setup well. There are plenty of YouTube videos that explain how to balance and set up the gimbal correctly.
My camera settings
Why I used these settings
- 4K preserves more detail and gives me a higher-quality final video.
- 60 fps lets me slow down the movement in post and makes small camera shakes less noticeable.
- 1/120 follows the 180-degree shutter rule at 60 fps. I adjust the exposure with the VND instead of changing the shutter speed.
- I shot at f/1.8 for a shallow depth of field and better performance in lower light.
- ISO 800 is the base ISO for S-Log3 on this camera.
- I set white balance based on the time, weather, and location. Cloudy worked for this shoot.
Planning the E36 shoot
I chose a moody day with plenty of shadows from the trees. The softer light made the reflections easier to control and helped bring out the E36’s body lines.
Prepare the car first
I make sure the car is clean before starting. Close-up shots can reveal even small dust particles, water spots, and fingerprints. I check the paint, windows, wheels, badges, and interior before taking the camera out.
Find the cleanest light
I walk around the car and see how the light changes from each side. I choose the cleanest angle first, then rotate the CPL until the reflections look right. I repeat this whenever I move to a different side of the car.
Framing the E36
This is the challenging part, and it is what makes each car video different. Every car has its own shape and looks best from particular angles, so I don’t use exactly the same shots every time.
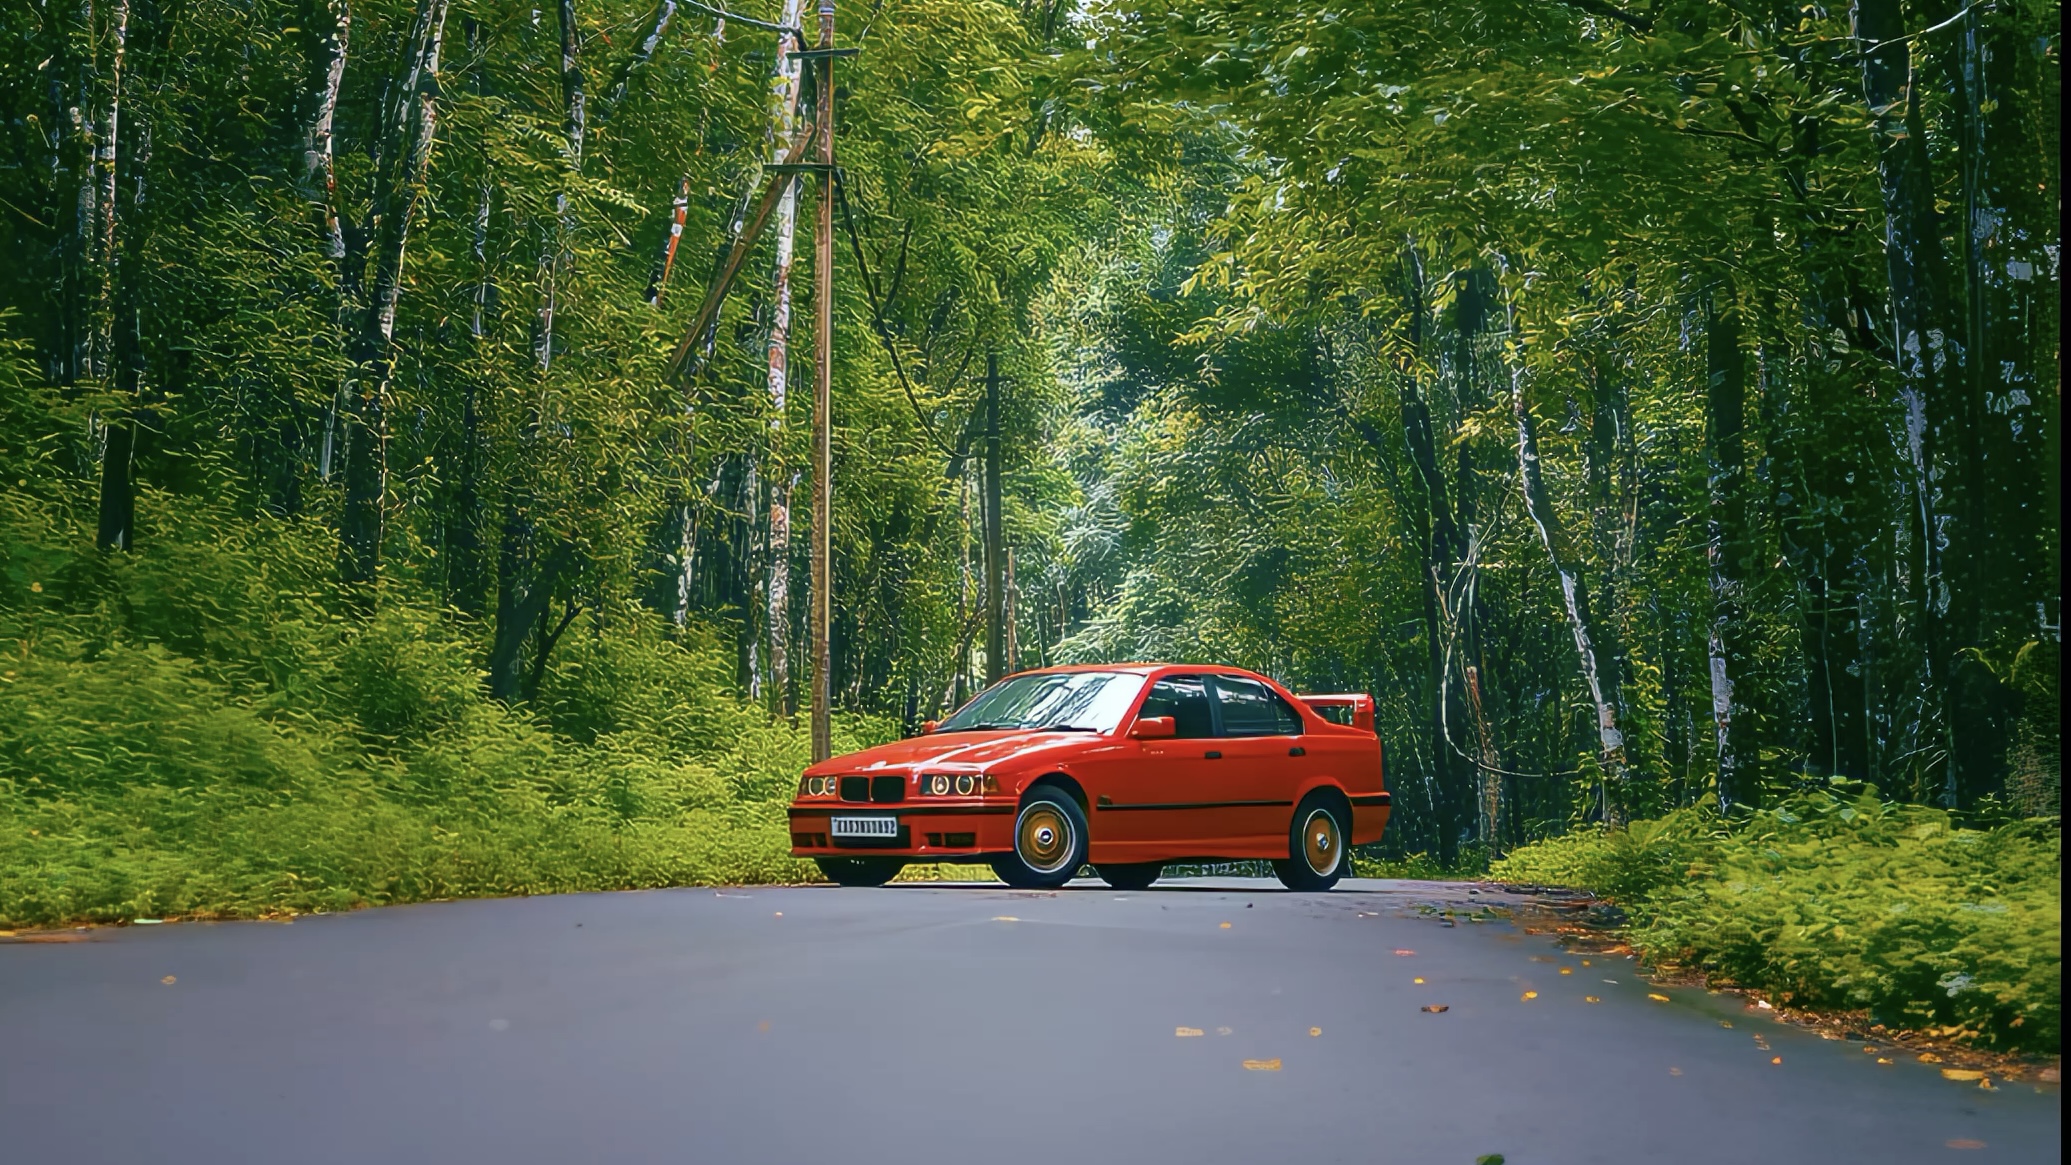
Work with its shape
This tutorial is based on a BMW E36. Its low, boxy shape looks especially good when the camera is close to the ground. I use low angles for the front, side profile, and three-quarter shots rather than shooting everything from eye level.
Build the wide frame
For wide shots, I look for a simple composition: leading lines, the rule of thirds, or an object in the foreground. These make the location feel intentional instead of leaving the car alone in an empty frame.
Let the road lead to the car
One of the simplest shots in this video places the car in the middle of the road. The road markings and edges point toward the car, naturally pulling attention to it.
Moving around the E36
I keep the moves slow and short. A simple move done well looks better than a complicated move that shakes.
Push in
I walk slowly toward the car and keep my elbows close to my body.
Slide across
For badges and wheels, I move sideways and use part of the car as a foreground.
Stay low
Cars usually look better from around headlight height. I avoid shooting everything from eye level.
My final checks
Before leaving the location, I take two minutes to check the E36 clips on the camera. It’s much easier to redo a shot there than notice a problem at home.
- Check focus on the main shots
- Make sure I have front and rear wide shots
- Check reflections in the paint and windows
- Record the engine starting and a clean rev
- Get one simple photo for the reel cover